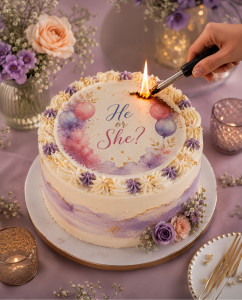
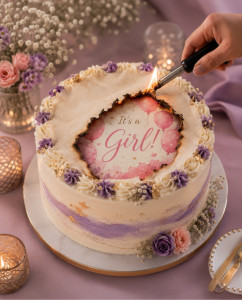
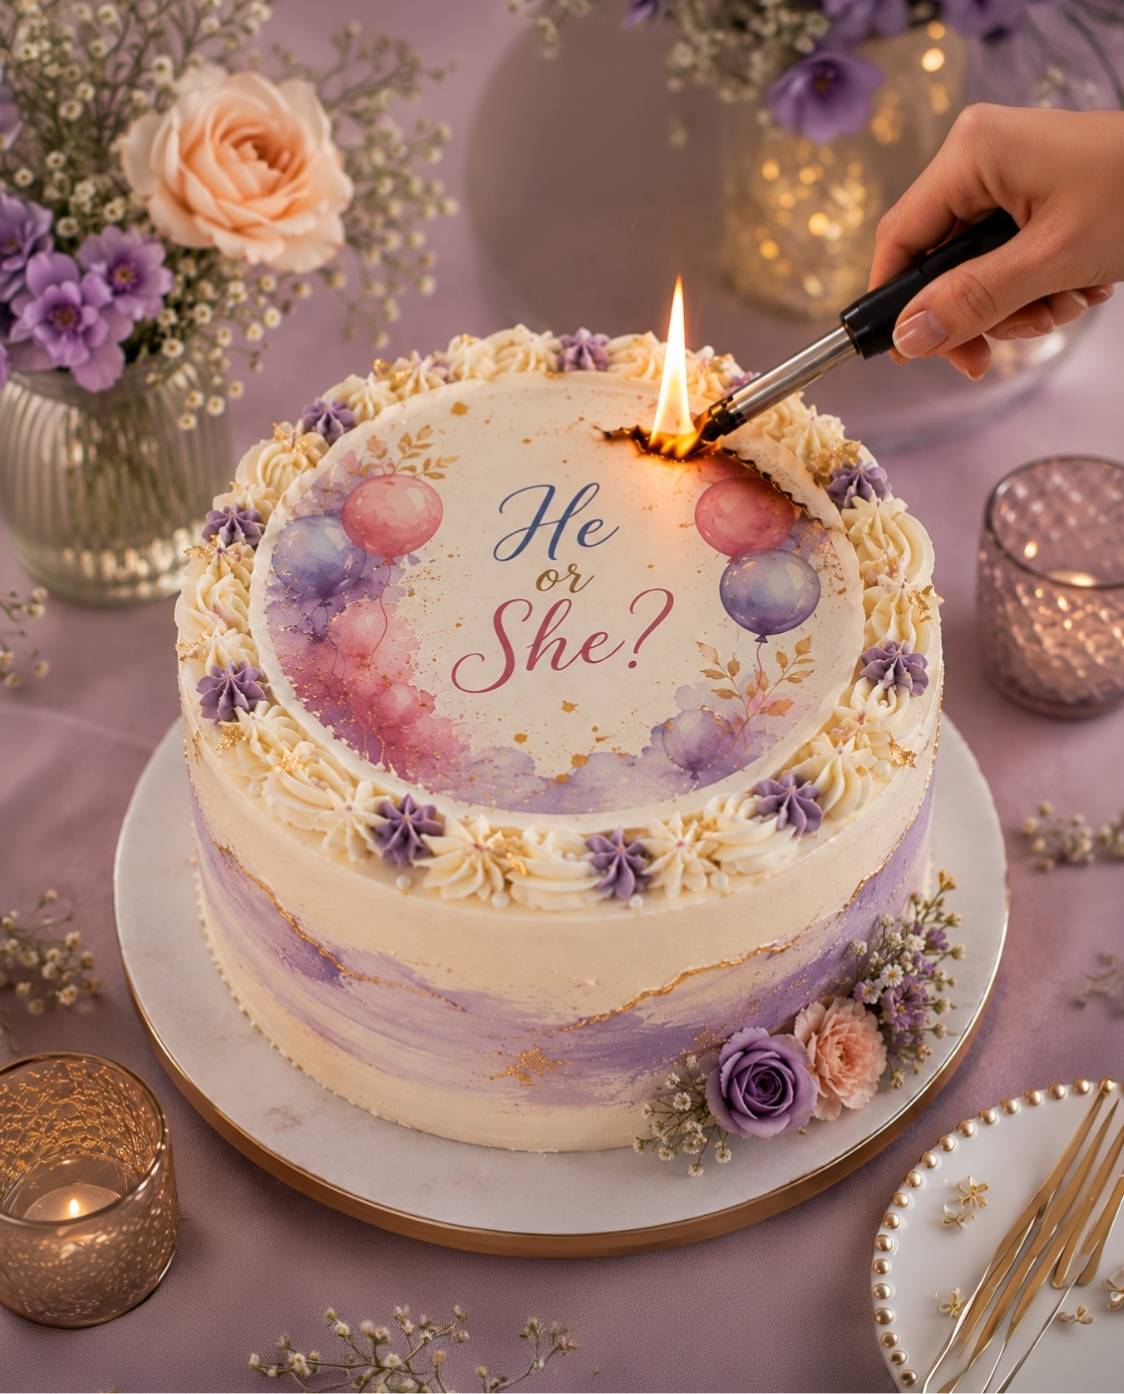
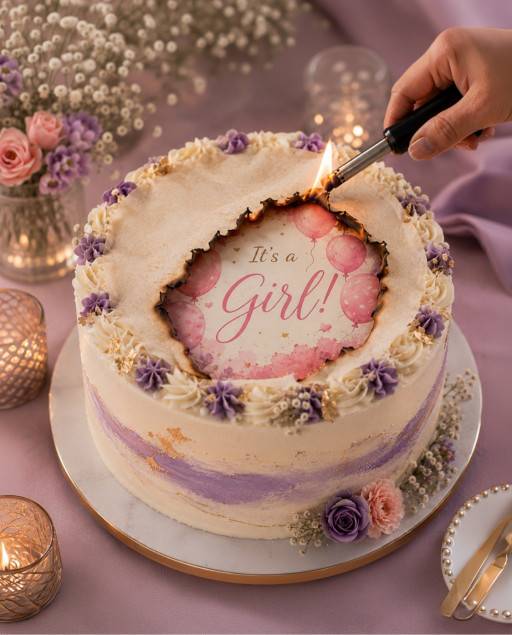
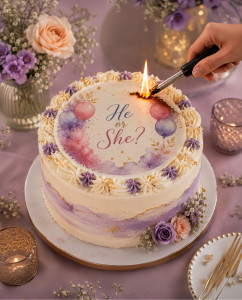
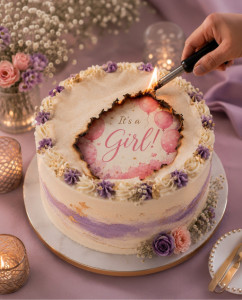
Light it. Watch it burn. Reveal what’s underneath.
Prime Toppers Custom Burn Away Cake Images give you two custom edible prints, a wafer paper top layer that burns away and a frosting sheet reveal layer underneath. Upload your two images, we print both layers of your burn away cake topper kit, and you assemble the burn away cake at home. The reveal moment is the event.
What Makes This Different
Burn Away Cake. Two Layers. Two Images. One Reveal.
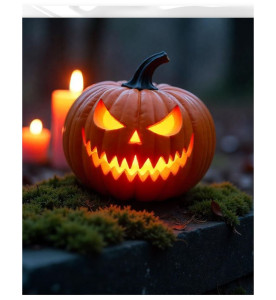
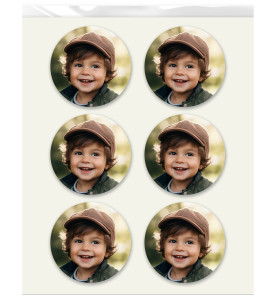
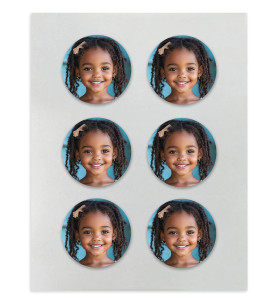
The top layer (wafer paper, also called rice paper) burns away. The bottom layer (frosting sheet, also called icing sheet or sugar sheet) is revealed. You upload one image for each layer. We print both.
Edible Burn Away Cake Layers. Both Printed by Us.
Both the wafer paper and the frosting sheet are printed with FDA-compliant, food-grade inks. Both are fully edible. The wafer paper burns cleanly when lit. The frosting sheet stays on the cake after the reveal.
Custom Burn Away Cake Topper. No Blank Paper.
Unlike kits that send you blank paper to print yourself, Prime Toppers prints your design on both layers before shipping. Both sheets arrive pre-printed with your custom designs. No edible printer needed. Upload, order, receive, assemble.
Burn Away Cake Images. Your Two Designs. Printed on Both Layers.
The burn away cake effect uses two layers. The top layer is wafer paper (also called rice paper) printed with one custom edible image. It sits over the frosting sheet and is held in place with a border of icing. When lit, the wafer paper burns cleanly away, and the hidden image on the frosting sheet underneath is revealed to the guests.
Prime Toppers prints both layers for you. You upload your design for the wafer paper (top/burn layer) and your design for the frosting sheet (bottom/reveal layer). We print both on the same order and ship them together. You do not need an edible printer on your end.
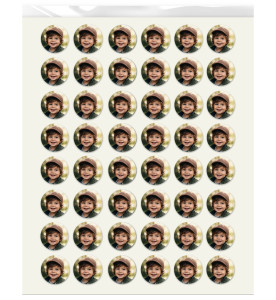
Both sheets are 8.5"x11" letter size. The wafer paper is vegan and gluten-free. The frosting sheet (also called an icing sheet or sugar sheet) is gluten-free and dairy-free. Both are printed with FDA-compliant food-grade inks. You assemble the cake by placing the frosting sheet on the iced cake first, piping a border of icing to hold the wafer paper layer above it, then placing the wafer paper on top. Order your burn away cake prints online, we print and ship to anywhere in the USA.
| Kit Includes | 1 wafer paper + 1 frosting sheet |
| Images | 2 custom designs (1 per layer) |
| Sheet Size | 8.5" x 11" (Letter) |
| Burn Layer | Custom printed wafer paper (rice paper) |
| Reveal Layer | Custom printed frosting sheet (icing sheet) |
| Ink Type | FDA-compliant, food-grade |
| Dietary | Vegan (wafer) · Gluten-free · Dairy-free (frosting sheet |
Perfect for Every Surprise Occasion

Gender Reveals

Proposals

Birthdays

Baby Showers

Graduations

Surprise Parties
How to Make Your Burn Away Cake - Six Steps
Follow these steps to assemble and use your burn away cake kit at your event.
01
Upload Your Two Images
You need two images: one for the wafer paper (the top layer that burns away) and one for the frosting sheet (the reveal layer underneath). The top image is what guests see first. The bottom image is the surprise. Upload both at checkout.
02
We Print Both Layers and Ship to You
We print your design on the wafer paper and your second design on the frosting sheet. Both are printed fresh using FDA-compliant food-grade inks and shipped together. No edible printer needed on your end.
03
Apply the Frosting Sheet to the Iced Cake
Once your cake is iced, apply the frosting sheet to the top of the cake. This is your reveal layer, the hidden image that guests will see after the burn. Apply it the same way as any frosting sheet: press gently on buttercream, fondant, or ganache.
04
Pipe a Border of Icing Around the Edge
Pipe a 1 to 2 inch border of icing around the edge of the frosting sheet. This border holds the wafer paper layer above the frosting sheet with a small gap. The gap lets the wafer paper burn cleanly without scorching the frosting sheet below.
05
Cut and Place the Wafer Paper on Top of the Border
Use clean scissors to cut your preferred circle size from the wafer paper sheet. Rest it printed side up on top of the icing border. It should sit slightly above the frosting sheet with the icing as a spacer. Make sure the wafer paper is centered and flat before the event.
06
Light the Center at the Event
At the reveal moment, use a lighter or long match to light the center of the wafer paper. It burns cleanly from the center outward. The frosting sheet image is revealed as the wafer paper burns away. Always have water nearby and keep children at a safe distance during the burn.
Frequently Asked Questions
Everything you need to know about burn away cake images from Prime Toppers.
1. What is a burn away cake?
A burn away cake uses two printed edible layers. The top layer is wafer paper (also called rice paper) with one image printed on it. The bottom layer is a frosting sheet (also called an icing sheet) with a different image. The wafer paper is lit and burns away to reveal the frosting sheet image underneath. The effect is used for surprise reveals at events like gender reveals, proposals, and birthdays.
2. What images do I need to upload?
You need two images. Image 1 goes on the wafer paper (the top layer, the one that burns). Image 2 goes on the frosting sheet (the bottom layer, the reveal). For example, Image 1 could say "It's a..." and Image 2 could show "It's a Girl!" with pink balloons.
3. Do I need an edible printer?
No. We print both layers for you. You upload your images, and we print them on wafer paper and frosting sheet using our commercial equipment. You receive two ready-to-use printed sheets and assemble the cake yourself.
4. Is the wafer paper safe to burn?
Wafer paper is made from potato starch and water. It burns cleanly when lit. Always exercise caution when working with an open flame. Keep water nearby, keep children at a safe distance, and make sure the burn is performed by a responsible adult.
5. What size cake does this work for?
Both the wafer paper and the frosting sheet are 8.5"x11" letter size. We recommend an 8" round cake so the circle you cut from the sheet covers the full cake top. Use clean scissors to cut your preferred circle size from each sheet before assembling.
6. How do I assemble the burn away cake?
Apply the frosting sheet to the iced cake top. Pipe a 1 to 2 inch border of icing around the edge of the frosting sheet. Cut the wafer paper to your circle size with scissors. Rest the wafer paper on top of the icing border. The gap between the wafer paper and the frosting sheet is what allows the wafer paper to burn cleanly without scorching the reveal layer.
Two Layers. Two Images. One Unforgettable Burn Away Cake Reveal.
Prime Toppers Custom Burn Away Cake Images are printed fresh on both wafer paper and frosting sheet. Upload your two designs and receive both layers ready to assemble. No edible printer needed.
Burn away cake kit · 2 custom printed layers · FDA-compliant · Ships in as little as 1 day · Click "Customize Now" to order
All products are custom printed using food-safe, FDA-compliant edible inks on premium edible sheets.
Orders are processed within 1–3 business days and delivered in 3–7 business days with free shipping on orders over $99.