You have seen them at birthday parties, wedding receptions, baby showers, and corporate events. Cookies with crisp, full-color photos printed right on the surface. They look like they came out of a professional pastry kitchen. The truth? Making edible printed cookies at home is more achievable than most people think. With an affordable setup and a learning curve that is shorter than you expect, you can produce stunning results from your own kitchen. This guide covers everything: what equipment to buy, how to bake a solid base, how to prepare your images, and how to get a clean, vibrant print every single time.
Whether you want to start a cottage bakery business or just make something genuinely unforgettable for your next gathering, keep reading.
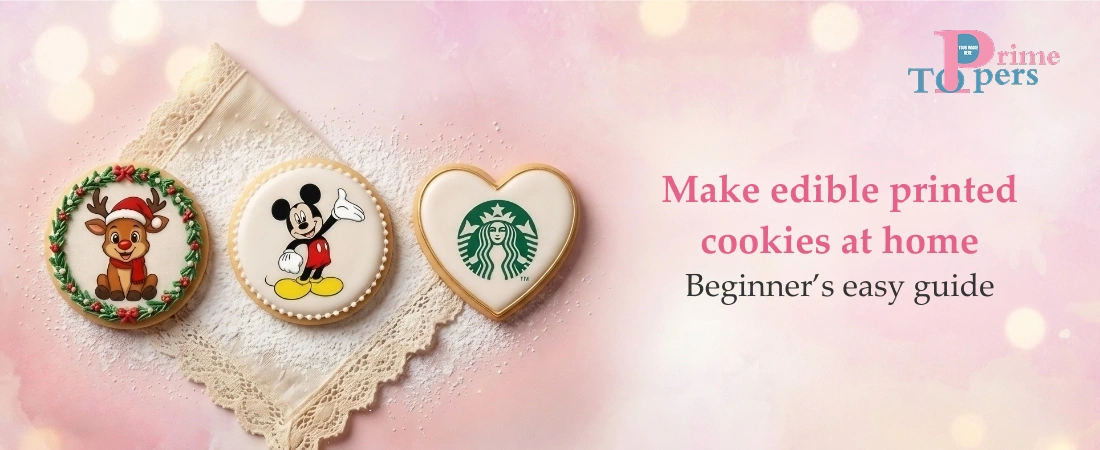
Edible printed cookies are sugar or shortbread cookies decorated with food-safe images printed onto frosting sheets or icing sheets and applied to the cookie surface. In more advanced setups, the image is printed directly onto an iced cookie without any transfer material at all.
Demand for personalized printed cookies has surged over the last few years. Home bakers are building small businesses on Etsy and Instagram around them. Event planners are ordering them as branded giveaways. Parents are getting them for every milestone. The appeal is simple: they look incredible, they are genuinely edible, and they make any occasion feel more personal.
The technology behind edible photo cookies has become affordable enough that you do not need a commercial bakery setup to produce them at home. A few hundred dollars in equipment, the right supplies, and this guide are all you need.
Before you bake a single cookie, make sure you have the right tools. Cutting corners on equipment is the number one reason beginners end up with blurry, washed-out, or uneven custom printed cookies.
This is the most important piece of equipment. You have two main options.
The first is a converted inkjet printer, typically a Canon PIXMA model set up exclusively with edible ink cartridges. These are affordable (usually under $150), widely available, and produce strong results when paired with the right frosting sheets. The key rule: a printer used for edible ink must never have been used with regular ink. Dedicate it entirely to edible printing from day one.
The second option is a direct-to-cookie printer like the Primera Eddie, which prints images directly onto an iced cookie surface without any transfer sheet. These are the gold standard for commercial output but carry a much higher price tag. For home bakers just starting out, a converted Canon inkjet paired with frosting sheets is the smarter entry point.
One important technical detail: edible paper, especially premium frosting sheets, is thicker than regular copy paper. Standard printers that bend paper through multiple rollers will jam or crack the sheet. Look for rear-feed printer models that allow the paper to pass through in a straight line.
Frosting sheets (also called icing sheets or sugar sheets) are the standard choice for edible photo cookies. They are thin layers of icing pressed onto a plastic backing. They smell faintly of vanilla, dissolve cleanly in the mouth, and hold color beautifully. They are the right choice for photo-quality prints on cookies, cakes, and cupcakes.
Wafer paper, made from potato starch, is stiffer and does not dissolve as easily. It works well for certain decorative applications but is not the go-to for photo printing. For beginners, stick with premium frosting sheets. The print saturation, flexibility, and adhesion are noticeably better than budget alternatives.
A great print on a mediocre cookie base is still a mediocre result. The cookie you bake underneath the image matters as much as the print itself.
Rectangle and square cookies are ideal for beginners because they offer a flat, even surface that is easy to cut frosting sheets for. Rounds work just as well once you get the sizing right. Whatever shape you choose, consistency across the batch is critical. Uneven cookies mean your pre-cut sheets will not line up cleanly.
Ingredients:
Method:
Mix your dry ingredients (flour, baking powder, salt) in one bowl. In a separate bowl, cream butter and sugar together until light and fluffy, around 3 to 4 minutes. Add the egg and vanilla, then slowly incorporate the dry ingredients until a dough forms.
Wrap the dough in plastic wrap and refrigerate for at least one hour. This step is non-negotiable. Chilled dough holds its shape when cut and baked, giving you the clean, flat surface you need for your edible printing.
Roll the dough on a lightly floured surface to about 1/4 inch thickness. Cut into your desired shapes, place on a parchment-lined tray, and bake at 325 degrees F for 10 to 12 minutes. You want the cookies set but not golden brown. Overbaked cookies are too hard for a clean image application.
Let cookies cool completely to room temperature before icing or applying any frosting sheet. Applying an edible image to a warm cookie warps the sheet and ruins the print.
The quality of your edible printed cookies is directly tied to the quality of the image file you start with. This is where a lot of beginners lose time.
Always use high-resolution images, ideally 300 DPI or higher. Low-resolution images look sharp on a phone screen but print blurry and pixelated on frosting sheets. JPEG and PNG files both work well. PNG is preferable for images with text or logos because it handles sharp edges better.
Open a new Canva design and set the canvas to the dimensions of your frosting sheet (usually 8.5 by 11 inches). Measure your cookies first. Subtract about 0.25 inches from each dimension so the printed image sits slightly inside the cookie edge. Arrange multiple images on a single sheet to minimize waste. Export your final layout as a high-quality PDF or JPEG before loading it into your printer software.
Neon and fluorescent colors do not reproduce accurately with edible inks. Very dark backgrounds can also affect print quality. If your design has deep blacks or navy backgrounds, do a small test print before committing to a full sheet. Edible ink colors are not a 1:1 match to what you see on screen, which is normal. The output will still look great as long as you start with a clean, well-lit, high-resolution image.
Always load frosting sheets into the rear feed tray, plastic backing side down, printing side up. Feed one sheet at a time. Never leave frosting sheets in the tray between sessions. Moisture and air exposure make them brittle.
Print at the highest quality setting your printer offers. Do not touch the printed surface immediately after printing. Allow it to rest for 2 to 3 minutes so the ink sets properly. Only cut out 3 to 4 images at a time, keeping the rest sealed in an airtight bag. Frosting sheets left exposed to air dry out, become brittle, and crack when handled.
Apply a thin, even layer of white royal icing to the top of each cookie. This layer serves as the adhesive and provides a neutral white base that makes colors pop. Spread it as flat as possible. Allow the icing to set until it forms a solid crust, typically 2 to 4 hours. A fully crusted icing surface gives you the cleanest transfer.
Carefully peel the printed image away from its plastic backing. Handle it by the edges only. Position it gently over the iced cookie and lay it down in one smooth motion. Do not drag or slide the sheet once it makes contact with the icing. Use a clean, dry finger or a fondant smoother to press out any air bubbles from the center outward.
If you need extra adhesion, apply a tiny amount of edible glue or piping gel around the edges only. Use as little as possible. Too much moisture causes the image to wrinkle.
Set the finished cookies on a flat surface in a cool, dry room. Avoid the refrigerator unless absolutely necessary since condensation will cause the image to run. Allow at least 2 hours of drying time before packaging or stacking. Once fully dry, the frosting sheet adheres firmly and the image is protected.
Your source image resolution is too low. Always work with at least 300 DPI. Zoom in at 100% in your editing software before printing. If it looks pixelated on screen at full size, it will look worse on frosting paper.
You used too much edible glue or the icing was not fully crusted before you applied the image. Let your icing dry completely and use the thinnest possible adhesive layer.
The sheet was left out in open air too long and dried out. Only cut what you plan to use immediately and keep the rest in a sealed airtight bag. Premium-quality frosting sheets are more flexible and crack-resistant than budget options.
You are likely using a front-feed printer that bends the paper through tight rollers. Switch to a rear-feed model. This is the most common equipment mistake beginners make when setting up a home edible printing station.
If you are not ready to invest in a printer setup yet, you have a solid middle-ground option: order pre-printed frosting sheets from a reliable supplier and apply them yourself at home. This approach gives you the same custom photo cookies result without the upfront printer cost.
Local grocery bakery sections sometimes offer edible image printing for around $5 to $6 per sheet. Online suppliers tend to offer better image quality, faster turnaround, and wider variety. You upload your image, choose your sheet size and format, and receive print-ready sheets by mail. From there, you bake the cookies and handle the application yourself.
If you plan to make custom photo cookies on a regular basis, whether for personal use or a small home bakery, investing in your own printer setup pays for itself within a few months.
Once you have the process down, personalized printed cookies can be turned around fast for virtually any occasion.
The versatility of custom printed cookies is one of the biggest reasons home bakers are building real income streams around them. Once you can reliably produce a clean, vibrant print on a well-baked cookie, the range of occasions you can serve is enormous.
Building your edible printing setup from scratch takes time, testing, and a fair amount of trial and error. If you want stunning edible printed cookies right now, without sourcing equipment, calibrating printers, or troubleshooting ink quality, we have done the hard work for you.
At Prime Toppers, we produce professional-grade personalized printed cookies and custom edible images using premium frosting sheets, FDA-approved edible inks, and high-resolution printing technology that delivers photo-quality results every single time.
Here is why bakers and customers across the country choose our edible image printing service:
Whether you are making edible photo cookies for a birthday, a wedding, a corporate event, or your growing home bakery business, our prints are ready to apply the moment they arrive.
Order your edible printed cookies today at primetoppers.com and get professional-quality results shipped right to your door.
Free shipping on orders over $99. From photo to cookie in days, not weeks.
Yes, you can order pre-printed frosting sheets online, apply them to your baked and iced cookies yourself, and get the same result without owning a printer.
2. What kind of printer do I need for edible printing?
A rear-feed inkjet printer like the Canon PIXMA loaded with edible ink cartridges is the most affordable and beginner-friendly option for home use.
Yes, as long as you use FDA-approved edible inks and frosting sheets from a reputable supplier, they are completely safe to eat.
You can make them 3 to 5 days in advance. Store them in a cool, dry place in an airtight container and avoid the refrigerator to prevent condensation.
A basic setup including a converted inkjet printer, edible ink cartridges, and frosting sheets costs between $150 and $250 to get started.
White royal icing is the best choice. It dries flat and hard, gives you a clean neutral base, and holds the frosting sheet firmly without wrinkling.

Comments 0